
Configure virtual hardware
Before you start your FortiGate-VM for the first time, you need to adjust your virtual machine’s virtual hardware settings to meet your network requirements.
Configuring number of CPUs and memory size
Your FortiGate-VM license limits the number CPUs and amount of memory that you can use. The amounts you allocate must not exceed your license limits.
To access virtual machine settings
- Open XenCenter.
- Select your FortiGate VM in the left pane.
The tabs in the right pane provide access to the virtual hardware configuration. The Console tab provides access to the FortiGate console.
- To set the number of CPUs
- In the XenCenter left pane, right-click the FortiGate VM and select Properties.
The Properties window opens. - In the left pane, select CPU.
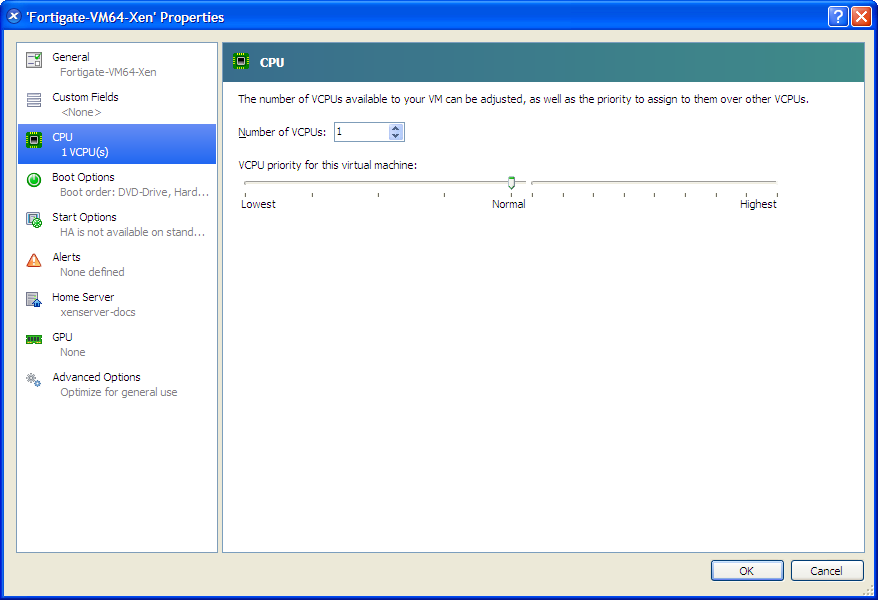
- Adjust Number of CPUs and then select OK.
XenCenter will warn if you select more CPUs than the Xen host computer contains. Such a configuration might reduce performance.
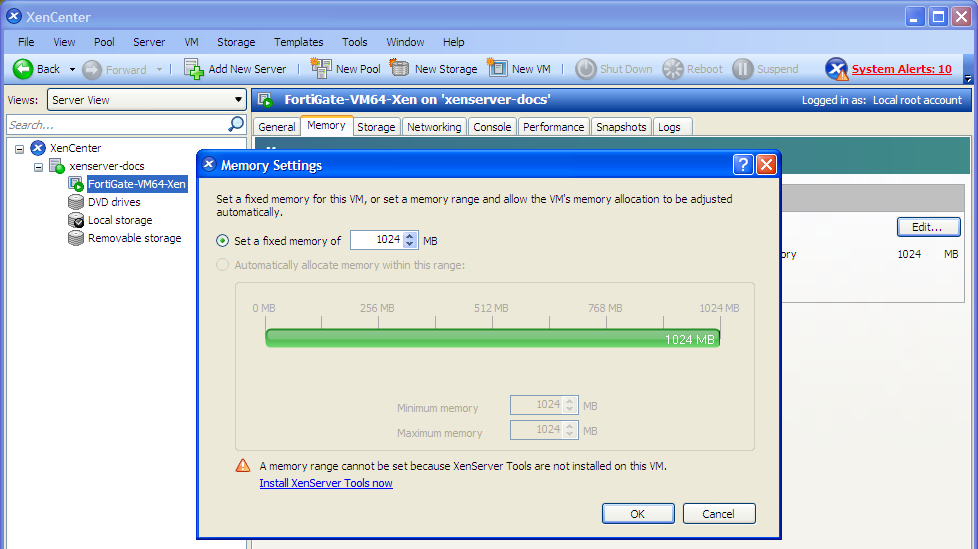
To set memory size
- In the XenCenter left pane, select the FortiGate VM.
- In the right pane, select the Memory tab.
- Select Edit, modify the value in the Set a fixed memory of field and select OK.
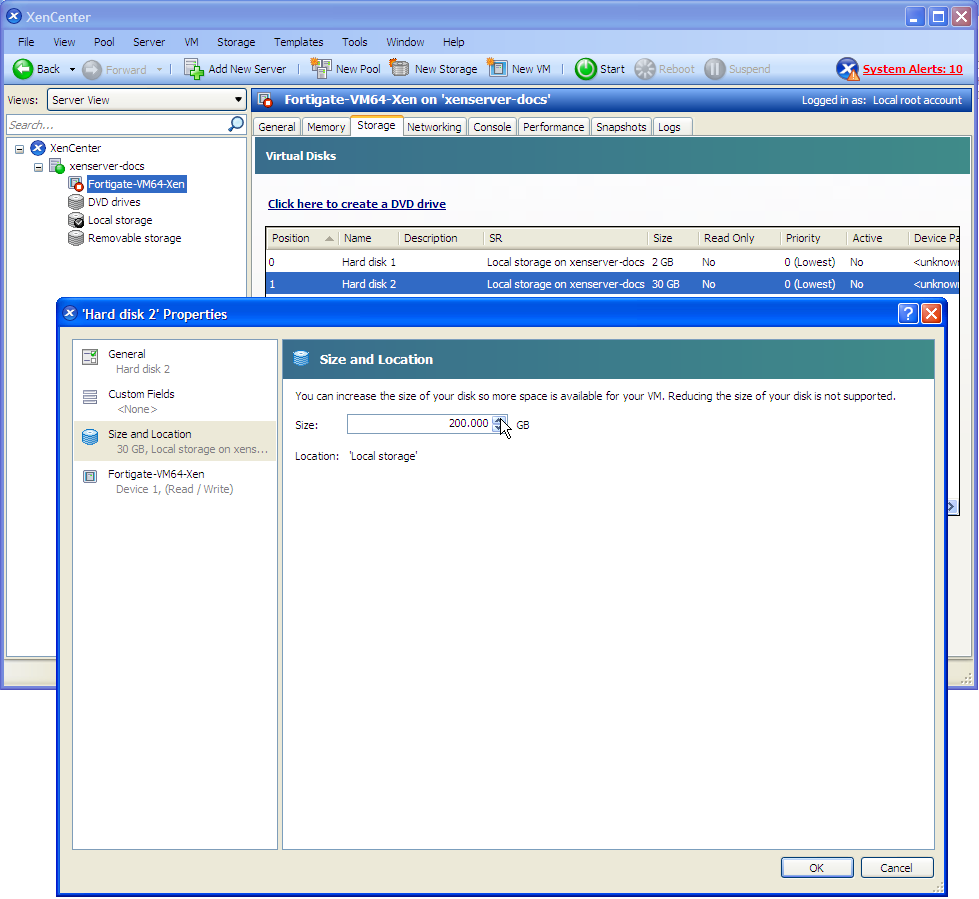
Configuring disk storage
By default the FortiGate VM data disk 30GB. You will probably want to increase this. Disk resizing must be done before you start the VM for the first time.
To resize the FortiGate data disk
- In the XenCenter left pane, select the FortiGate VM.
- Select the Storage tab. Select Hard disk 2 (the 30GB drive), then select Properties.
The ‘Hard disk 2’ Properties window opens. - Select Size and Location. Adjust Size and select OK.
Copyright © 2018 Fortinet, Inc. All Rights Reserved. | Terms of Service | Privacy Policy
